Upscale Image 2×, 3× or 4×
Enlarge a small photo, logo or screenshot without blocky pixels: step-wise high-quality smoothing plus adjustable edge sharpening, or crisp nearest-neighbour for pixel art. Free, private, in your browser.
Updated October 2026 · Free · Works entirely in your browser
How this upscaler works
Enlarging means inventing pixels between the ones you have. The crudest way, nearest neighbour, just copies each pixel into a bigger square — perfect for pixel art, ugly for photos. Smooth interpolation blends neighbouring pixels instead, but done in one big jump it leaves soft, haloed edges. So this tool enlarges in steps of at most 2× using the browser's high-quality resampling filter, then runs an unsharp mask: it compares each pixel with a blurred copy and pushes the difference back, which restores edge contrast without amplifying flat areas (a small threshold leaves skies and skin alone).
Upscaling vs AI upscaling
| This tool | AI upscalers | |
|---|---|---|
| Where it runs | Your browser, offline | Usually a server — your photo is uploaded |
| What it adds | Smooth interpolation + sharpening | Generated texture and detail |
| Faithful to the original | Yes — nothing invented | Not always: faces, text and patterns can change |
| Best for | Logos, screenshots, print prep, documents, pixel art | Very small, heavily compressed photos |
How much do you need?
For print, pixels = inches × DPI: an 8×10 inch print at 300 DPI needs 2400 × 3000 pixels, and at 150 DPI (fine for posters viewed from a distance) half that. The DPI & print size calculator does the arithmetic, and Change Image DPI writes the DPI value a print shop asks for. To make an image smaller, or an exact size, use the image resizer instead.
Tips for the cleanest result
- Start from the largest, least-compressed copy you have — upscaling a heavily compressed JPG also enlarges its blocks.
- Upscale once to the final size; repeated upscale-and-save rounds soften the image each time.
- Save as PNG if you will edit further, JPG for sharing — at 4× a PNG photo can be very large.
- For a logo that must scale to any size, trace it into a vector with PNG to SVG instead.
Gear we recommend for this workflow
As an Amazon Associate we earn from qualifying purchases. Affiliate disclosure.
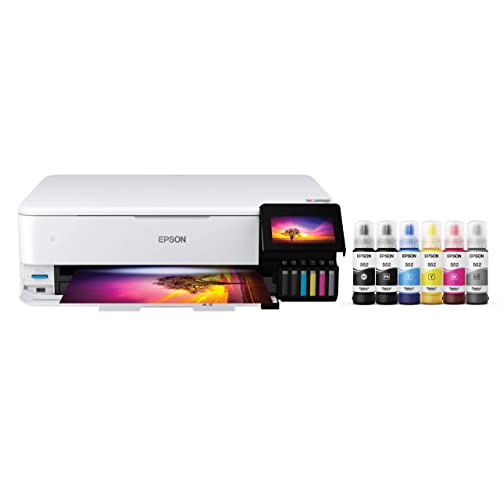
Epson EcoTank Photo ET-8550 Wireless Wide-Format All-in-One Tank Printer
Best pro-grade photo printer
$689.90
Check price on Amazon
Dell 27 Monitor S2725QS, 4K UHD IPS, 120Hz, 5ms, FreeSync Premium
Best for accurate color when editing photos
$268.99
Check price on Amazon
Epson Premium Photo Paper Glossy 8.5x11 50 sheets S041667
Best glossy paper for vivid prints
$17.73
Check price on Amazon
Epson SureColor F170 Dye-Sublimation Printer – Compact 8.5" x 11" Format – Includes Genuine Epson Ink, User Guide & Power Cable – Original OEM Product with Full Manufacturer Support
Best pro-grade photo printer
$399.99
Check price on AmazonPrices as of Oct 1, 2026, 4:40 AM UTC. Product prices and availability are accurate as of the date/time indicated and are subject to change. Any price and availability information displayed on Amazon.com at the time of purchase will apply to the purchase of this product.
Frequently Asked Questions
Everything you need to know about image conversion.