Add a Border to an Image
Frame any photo with a white, black or coloured border, add a mat, round the corners, or pad it square for Instagram without cropping. Free, and done in your browser — nothing is uploaded.
Updated September 2026 · Free · Works entirely in your browser
How to add a border to a photo
- Drop, choose or paste the photo.
- Set the border thickness. 2–5% of the short side is a classic print frame; 1% is a thin keyline.
- Pick a colour — or tap White, Black, Cream or Charcoal.
- Optional: add a mat in a second colour, round the corners, or choose a shape to pad the photo to 1:1, 4:5 or 9:16.
- Download as JPG for photos, or PNG when you need exact colours or transparent rounded corners.
Borders for Instagram without cropping
Instagram crops feed posts to between 1.91:1 and 4:5. A tall or wide photo loses its edges — unless it is padded to fit first. Choose Portrait 4:5 (the tallest feed shape) or Square 1:1 and the tool adds your border colour on the short sides so the whole picture shows. For a blurred-photo background instead of a colour, use Resize for Instagram.
Choosing a border colour
- White looks like a printed photo and suits bright, airy images and gallery-style feeds.
- Black deepens contrast and suits moody, night and black-and-white photos.
- Cream or warm grey reads as a paper mat and flatters film-style colour.
- Use the image colour picker to lift a colour from the photo itself for a border that matches.
Need the framed photo at an exact pixel size afterwards? Run it through the image resizer or the 1080 × 1080 converter.
Gear we recommend for this workflow
As an Amazon Associate we earn from qualifying purchases. Affiliate disclosure.
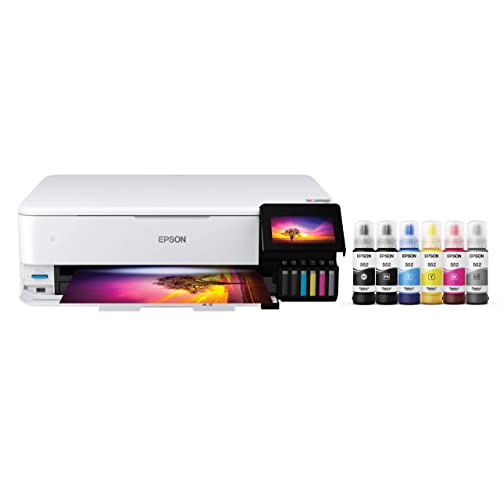
Epson EcoTank Photo ET-8550 Wireless Wide-Format All-in-One Tank Printer
Best pro-grade photo printer
$669.00
Check price on Amazon
UBeesize 14'' LED Foldable Ring Light with 62'' Tripod Stand, Selfie Ring Light for Video Recording, Live Streaming, TikTok & YouTube, Compatible with iPhone & Android (Black)
Best for even, flattering lighting
$34.77
Check price on Amazon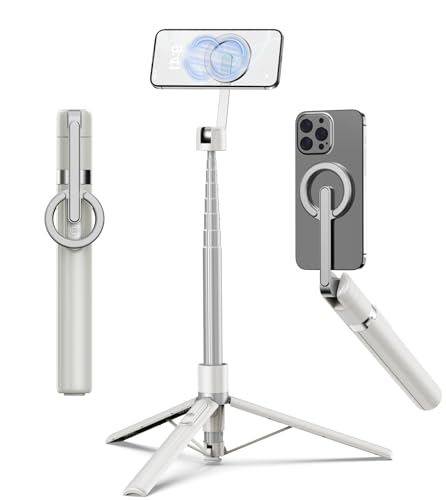
TONEOF 68" Magnetic Aluminum Phone Tripod Selfie Stick for iPhone & Android
Best for stable iPhone photos and video
$29.99
Check price on Amazon
Epson SureColor F170 Dye-Sublimation Printer – Compact 8.5" x 11" Format – Includes Genuine Epson Ink, User Guide & Power Cable – Original OEM Product with Full Manufacturer Support
Best pro-grade photo printer
$399.99
Check price on AmazonPrices as of Sep 30, 2026, 4:40 AM UTC. Product prices and availability are accurate as of the date/time indicated and are subject to change. Any price and availability information displayed on Amazon.com at the time of purchase will apply to the purchase of this product.
Frequently Asked Questions
Everything you need to know about image conversion.