Brighten an Image
Fix a dark or dull photo in one tap with Auto brighten, or adjust exposure, midtone brightness, contrast and saturation yourself. Free, full resolution, and done in your browser — nothing is uploaded.
Updated September 2026 · Free · Works entirely in your browser
How to brighten a photo
- Drop, choose or paste the photo. Auto brighten is applied straight away.
- Too much or too little? Move Brightness to lift or darken the midtones, or Exposure to brighten everything.
- Add a little Contrast if the result looks flat, and Saturation if colours look washed out.
- Tap Original to compare, then download as JPG (smaller) or PNG (lossless).
What each control does
- Exposure multiplies the light in the photo like a camera setting: +1 stop is twice as bright. It is calculated in linear light using the sRGB standard (IEC 61966-2-1), so it behaves like real exposure rather than a flat wash of grey.
- Brightness bends the tone curve: midtones move while pure black and white stay put, so faces in a dim room brighten without the window blowing out.
- Black and white points are levels: anything darker than the black point becomes black and anything brighter than the white point becomes white. Auto sets them from the photo, ignoring the darkest and brightest 0.5% of pixels.
- Saturation scales colour away from each pixel's grey value (BT.709 luma). −100 gives black and white.
When a photo is too dark to rescue
If the shadows are pure black in the original, there is no detail left to bring back — brightening turns them grey, not into a picture. For those, a black and white conversion often hides the noise and looks deliberate. To check what your camera recorded, open the file in the EXIF viewer: a very high ISO or a short shutter speed explains a dark, grainy shot.
Gear we recommend for this workflow
As an Amazon Associate we earn from qualifying purchases. Affiliate disclosure.

UBeesize 14'' LED Foldable Ring Light with 62'' Tripod Stand, Selfie Ring Light for Video Recording, Live Streaming, TikTok & YouTube, Compatible with iPhone & Android (Black)
Best for even, flattering lighting
$34.77
Check price on Amazon
Dell 27 Monitor S2725QS, 4K UHD IPS, 120Hz, 5ms, FreeSync Premium
Best for accurate color when editing photos
$299.99
Check price on Amazon
2-Pack LED Video Light Kit, NiceVeedi Studio Light, 2800-6500K Dimmable Photography Lighting Kit with Tripod Stand&Phone Holder, 73" Stream Light for Video Recording, Game Streaming, YouTube
Best portable continuous lighting
$49.99
Check price on Amazon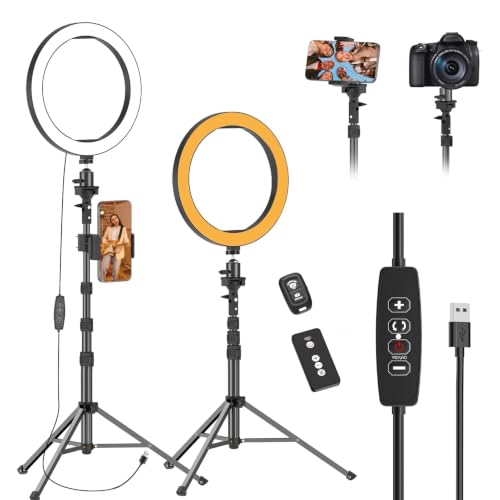
EMART 10" Ring Light with 55" Extendable Tripod Stands and Phone Holder
Best for even, flattering lighting
$22.99
Check price on AmazonPrices as of Sep 30, 2026, 4:40 AM UTC. Product prices and availability are accurate as of the date/time indicated and are subject to change. Any price and availability information displayed on Amazon.com at the time of purchase will apply to the purchase of this product.
Frequently Asked Questions
Everything you need to know about image conversion.